
OpenClaw Linux Setup Recipe
Weekend #2 with 🦞 Here's my latest and the greatest recipe for installing OpenClaw.
First off, I experimented with “miniaturizing” the machine specs and have so far settled on this minimal VM resources:
- 1 CPU core
- 1024MB RAM
- 10GB Disk
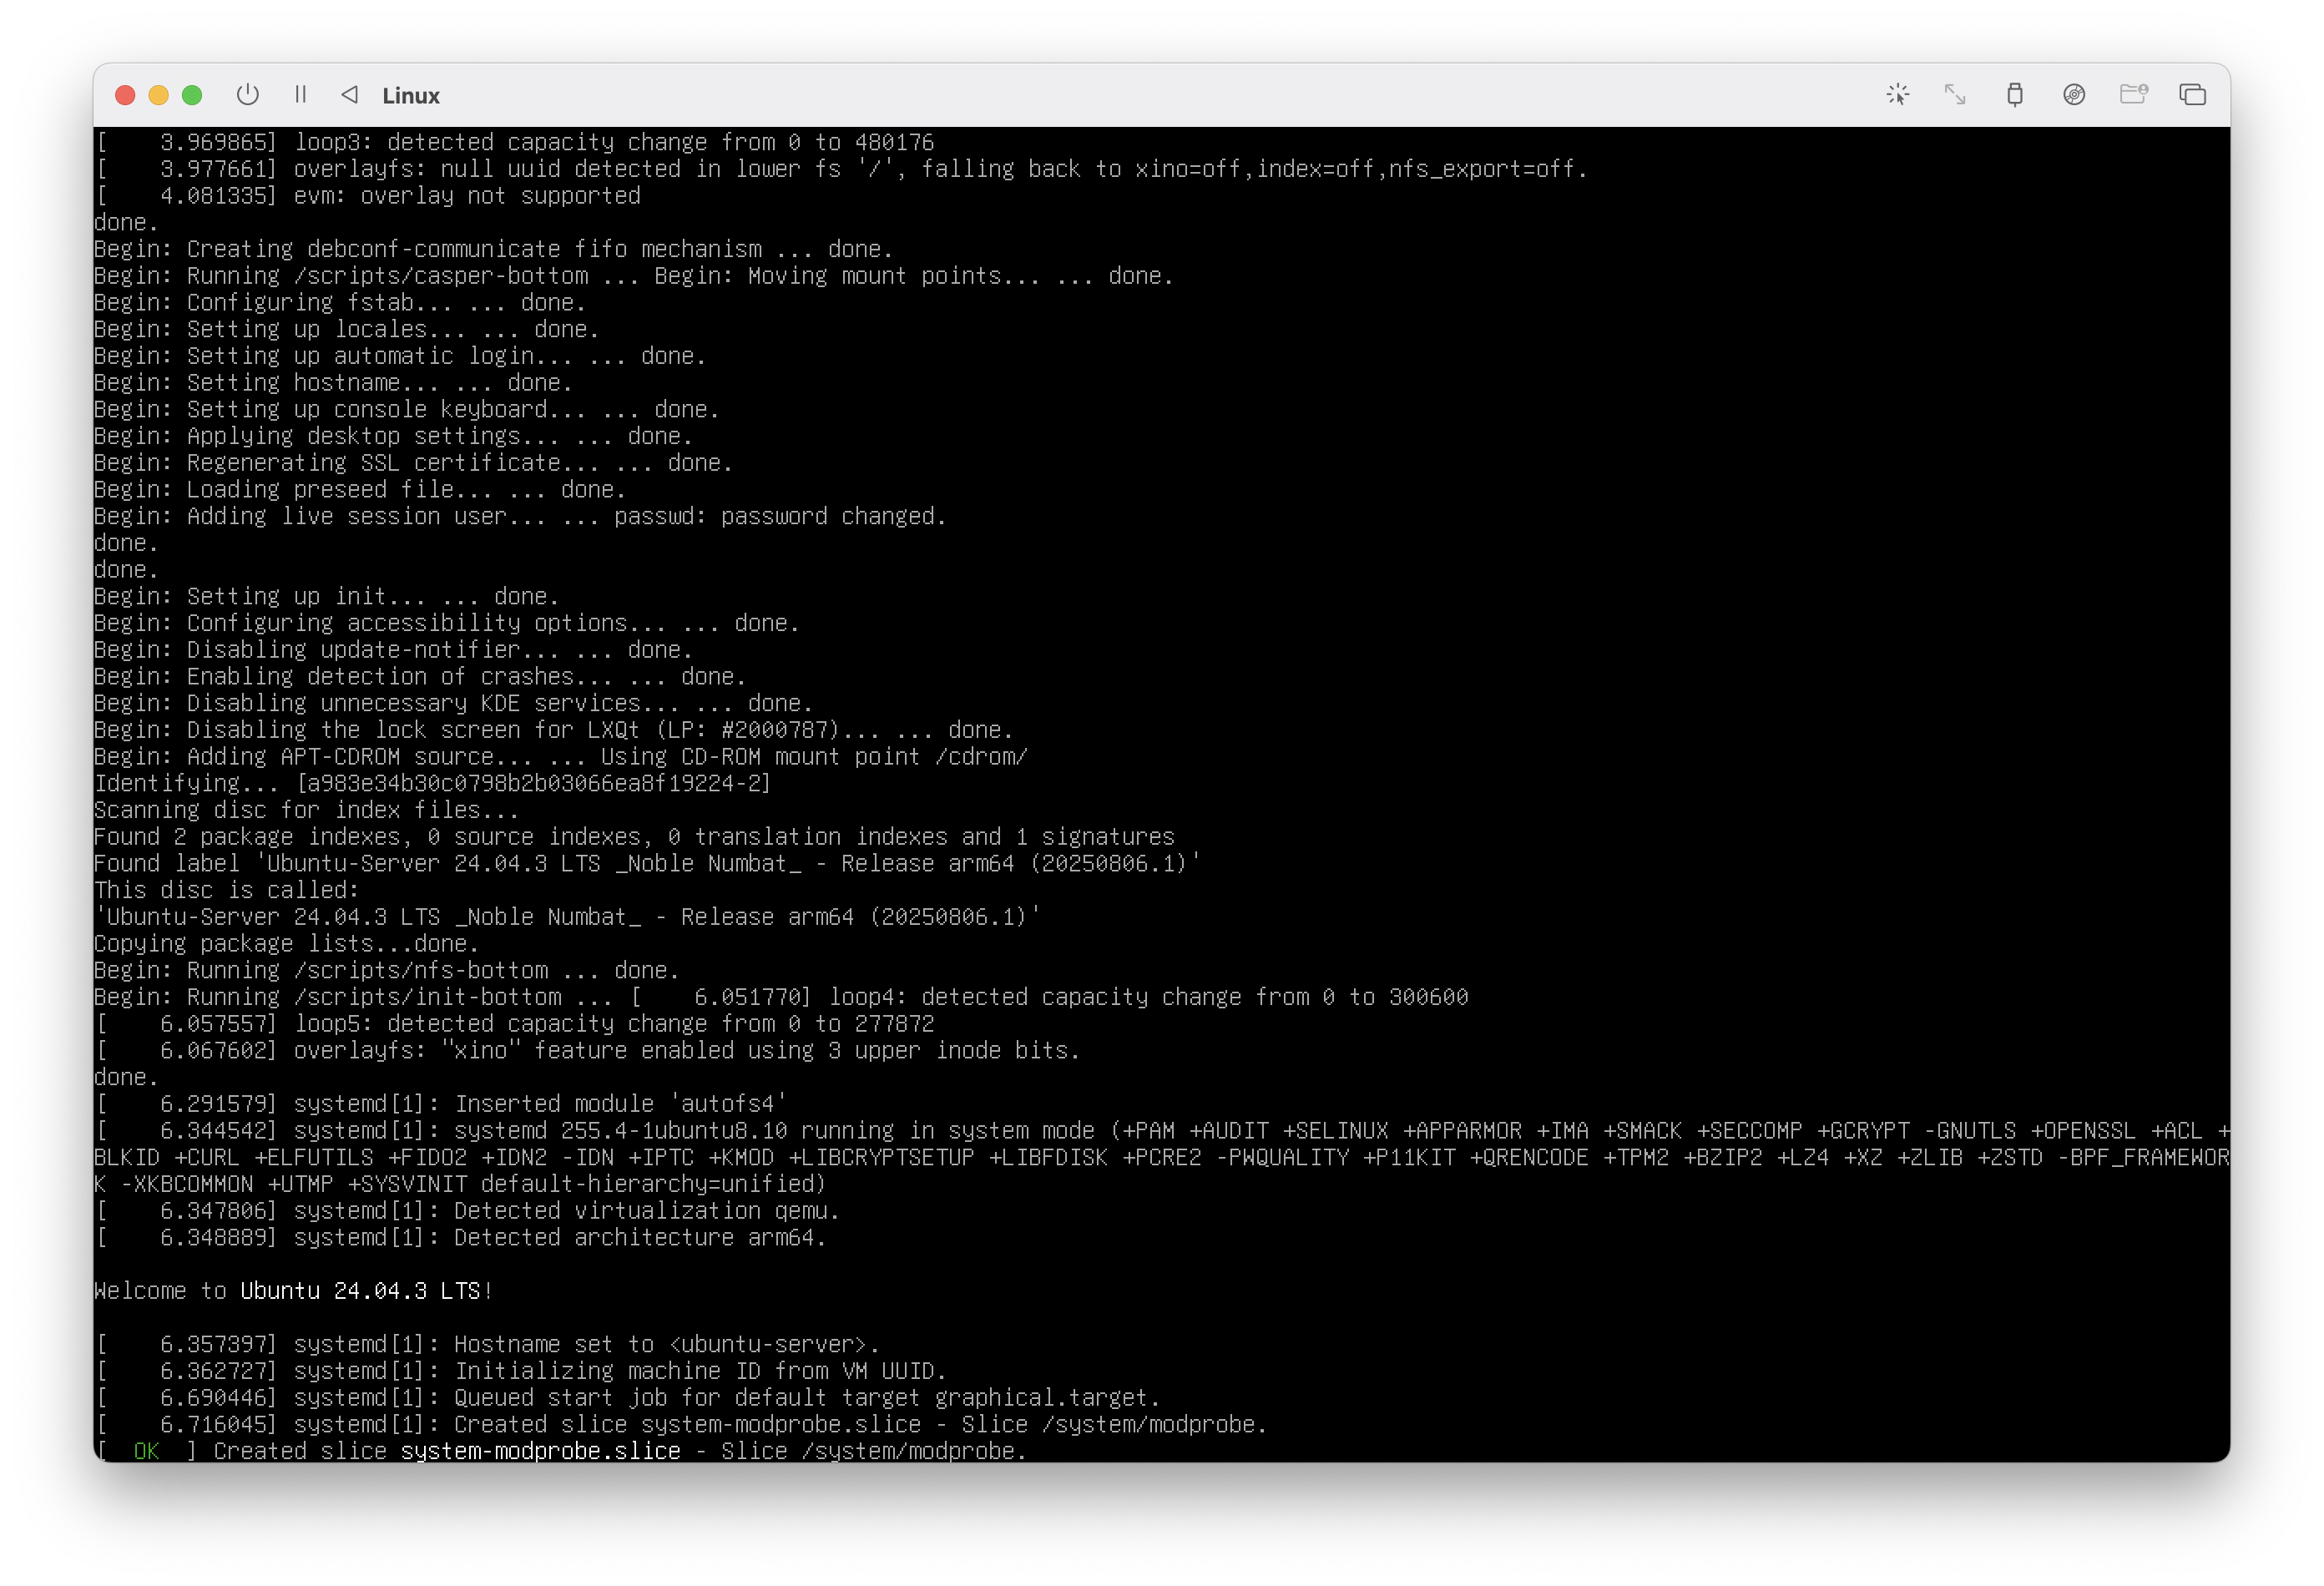
I have been able to test and run things successfully on a VM virtualized using UTM. The VM runs minimal Ubuntu 24.04 LTS.
Once Ubuntu is fully installed, you have to enter a lot of long strings, for example, your Claude Code token or API tokens. So, I installed OpenSSH Server on the VM and ssh into from my Host laptop to set things up:
sudo apt update

# directly inputting into a non-gui linux machine is terrible!
sudo apt install -y openssh-server ufw
sudo ufw default deny incoming
sudo ufw default allow outgoing
sudo ufw allow OpenSSH
sudo ufw enable

# passwordless login
# sudo nano /etc/ssh/sshd_config


# needed for node
sudo apt install -y curl git
curl -o- https://raw.githubusercontent.com/nvm-sh/nvm/v0.40.1/install.sh | bash

nvm install 22
nvm use 22

# Finally, install OpenClaw and onboard
npm install -g openclaw
openclaw onboard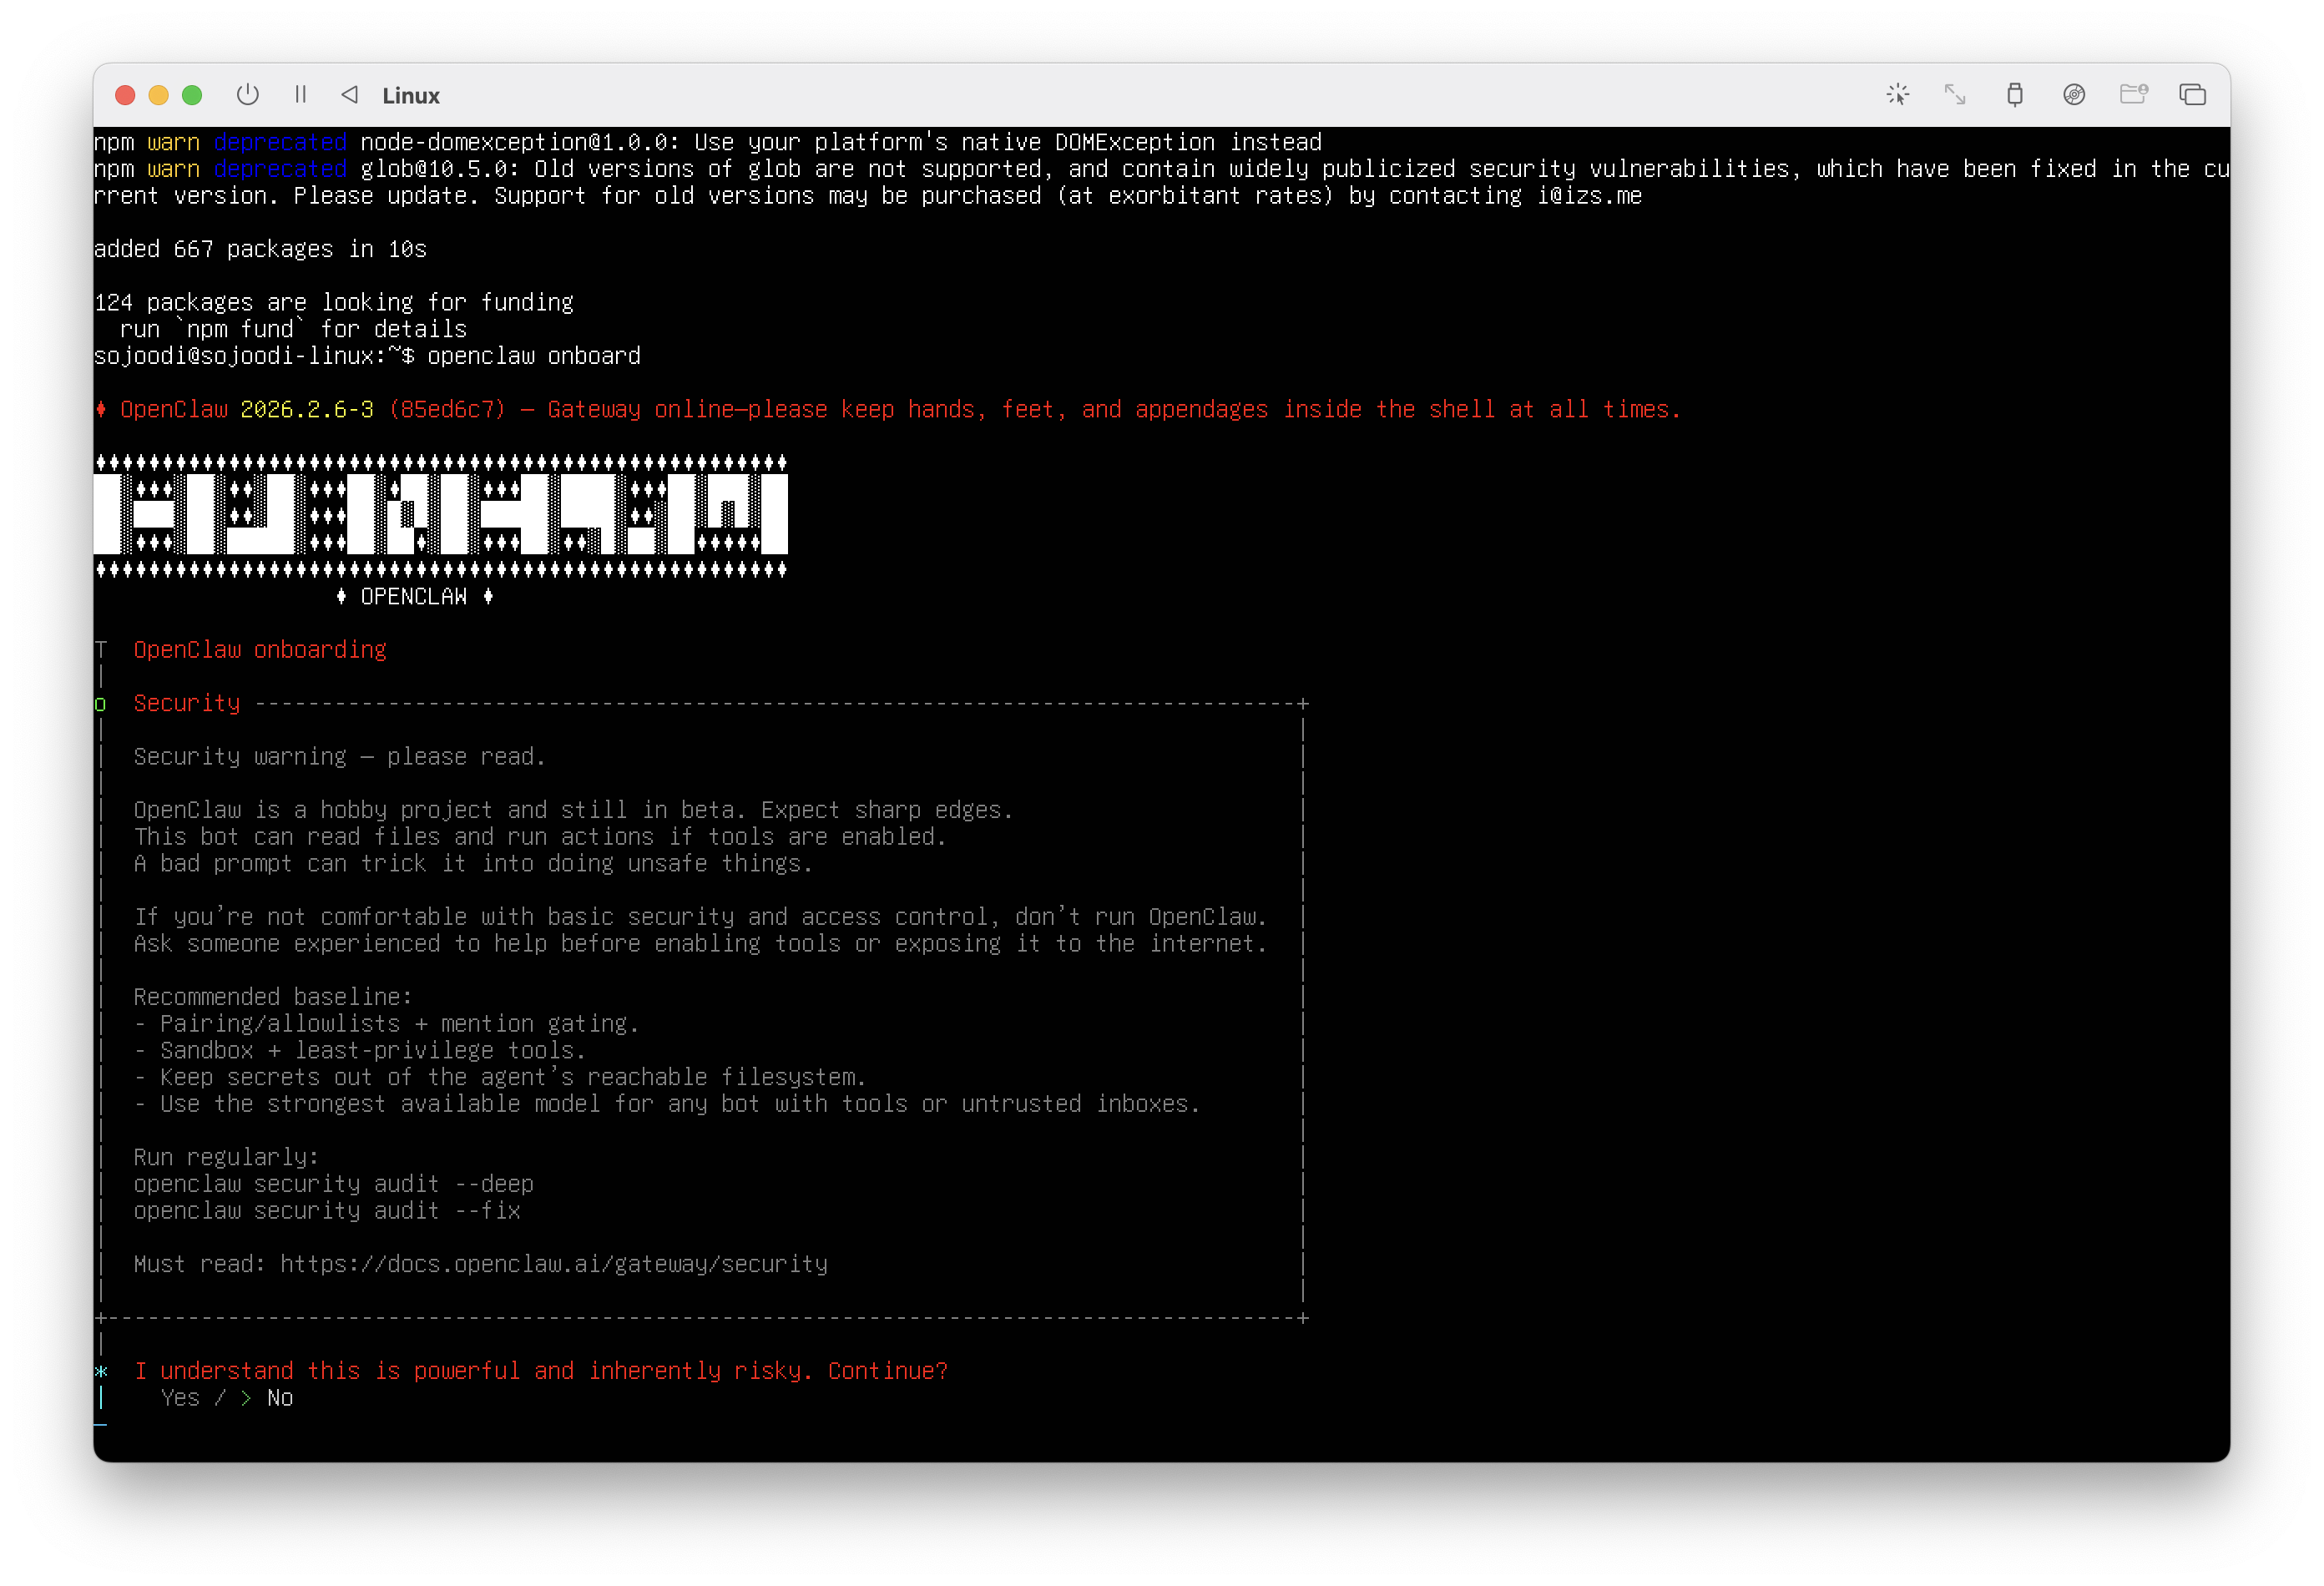
The onboarding is straight forward, but you have to enter large strings (API Keys, etc), so I recommend you ssh into the machine from a decent terminal like Ghostty.
My onboarding consists of:
- Set up Anthropic or OpenAI key
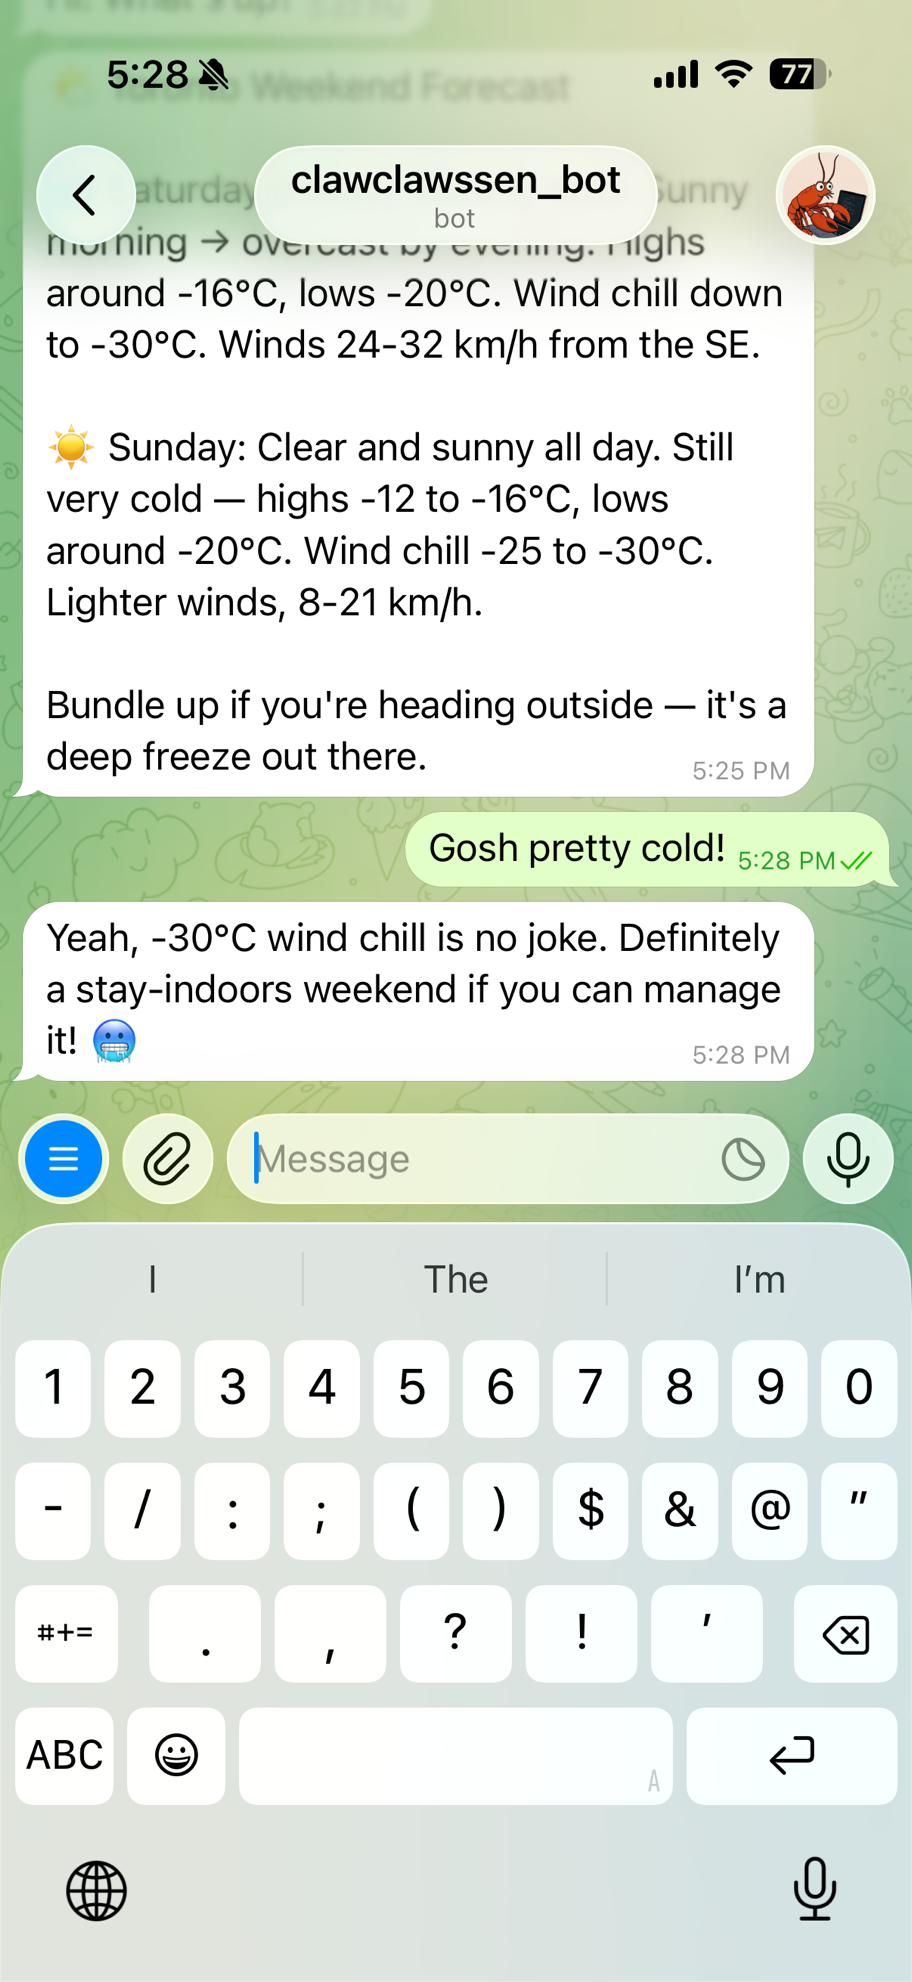
- Set up Telegram BOT and pair
- Start Terminal UI (TUI) to start chatting and giving identity and instructions to your new assistant!
openclaw tuiWith this minimal Linux installation, there's no desktop environment, so I will use the TUI for interacting in the backend
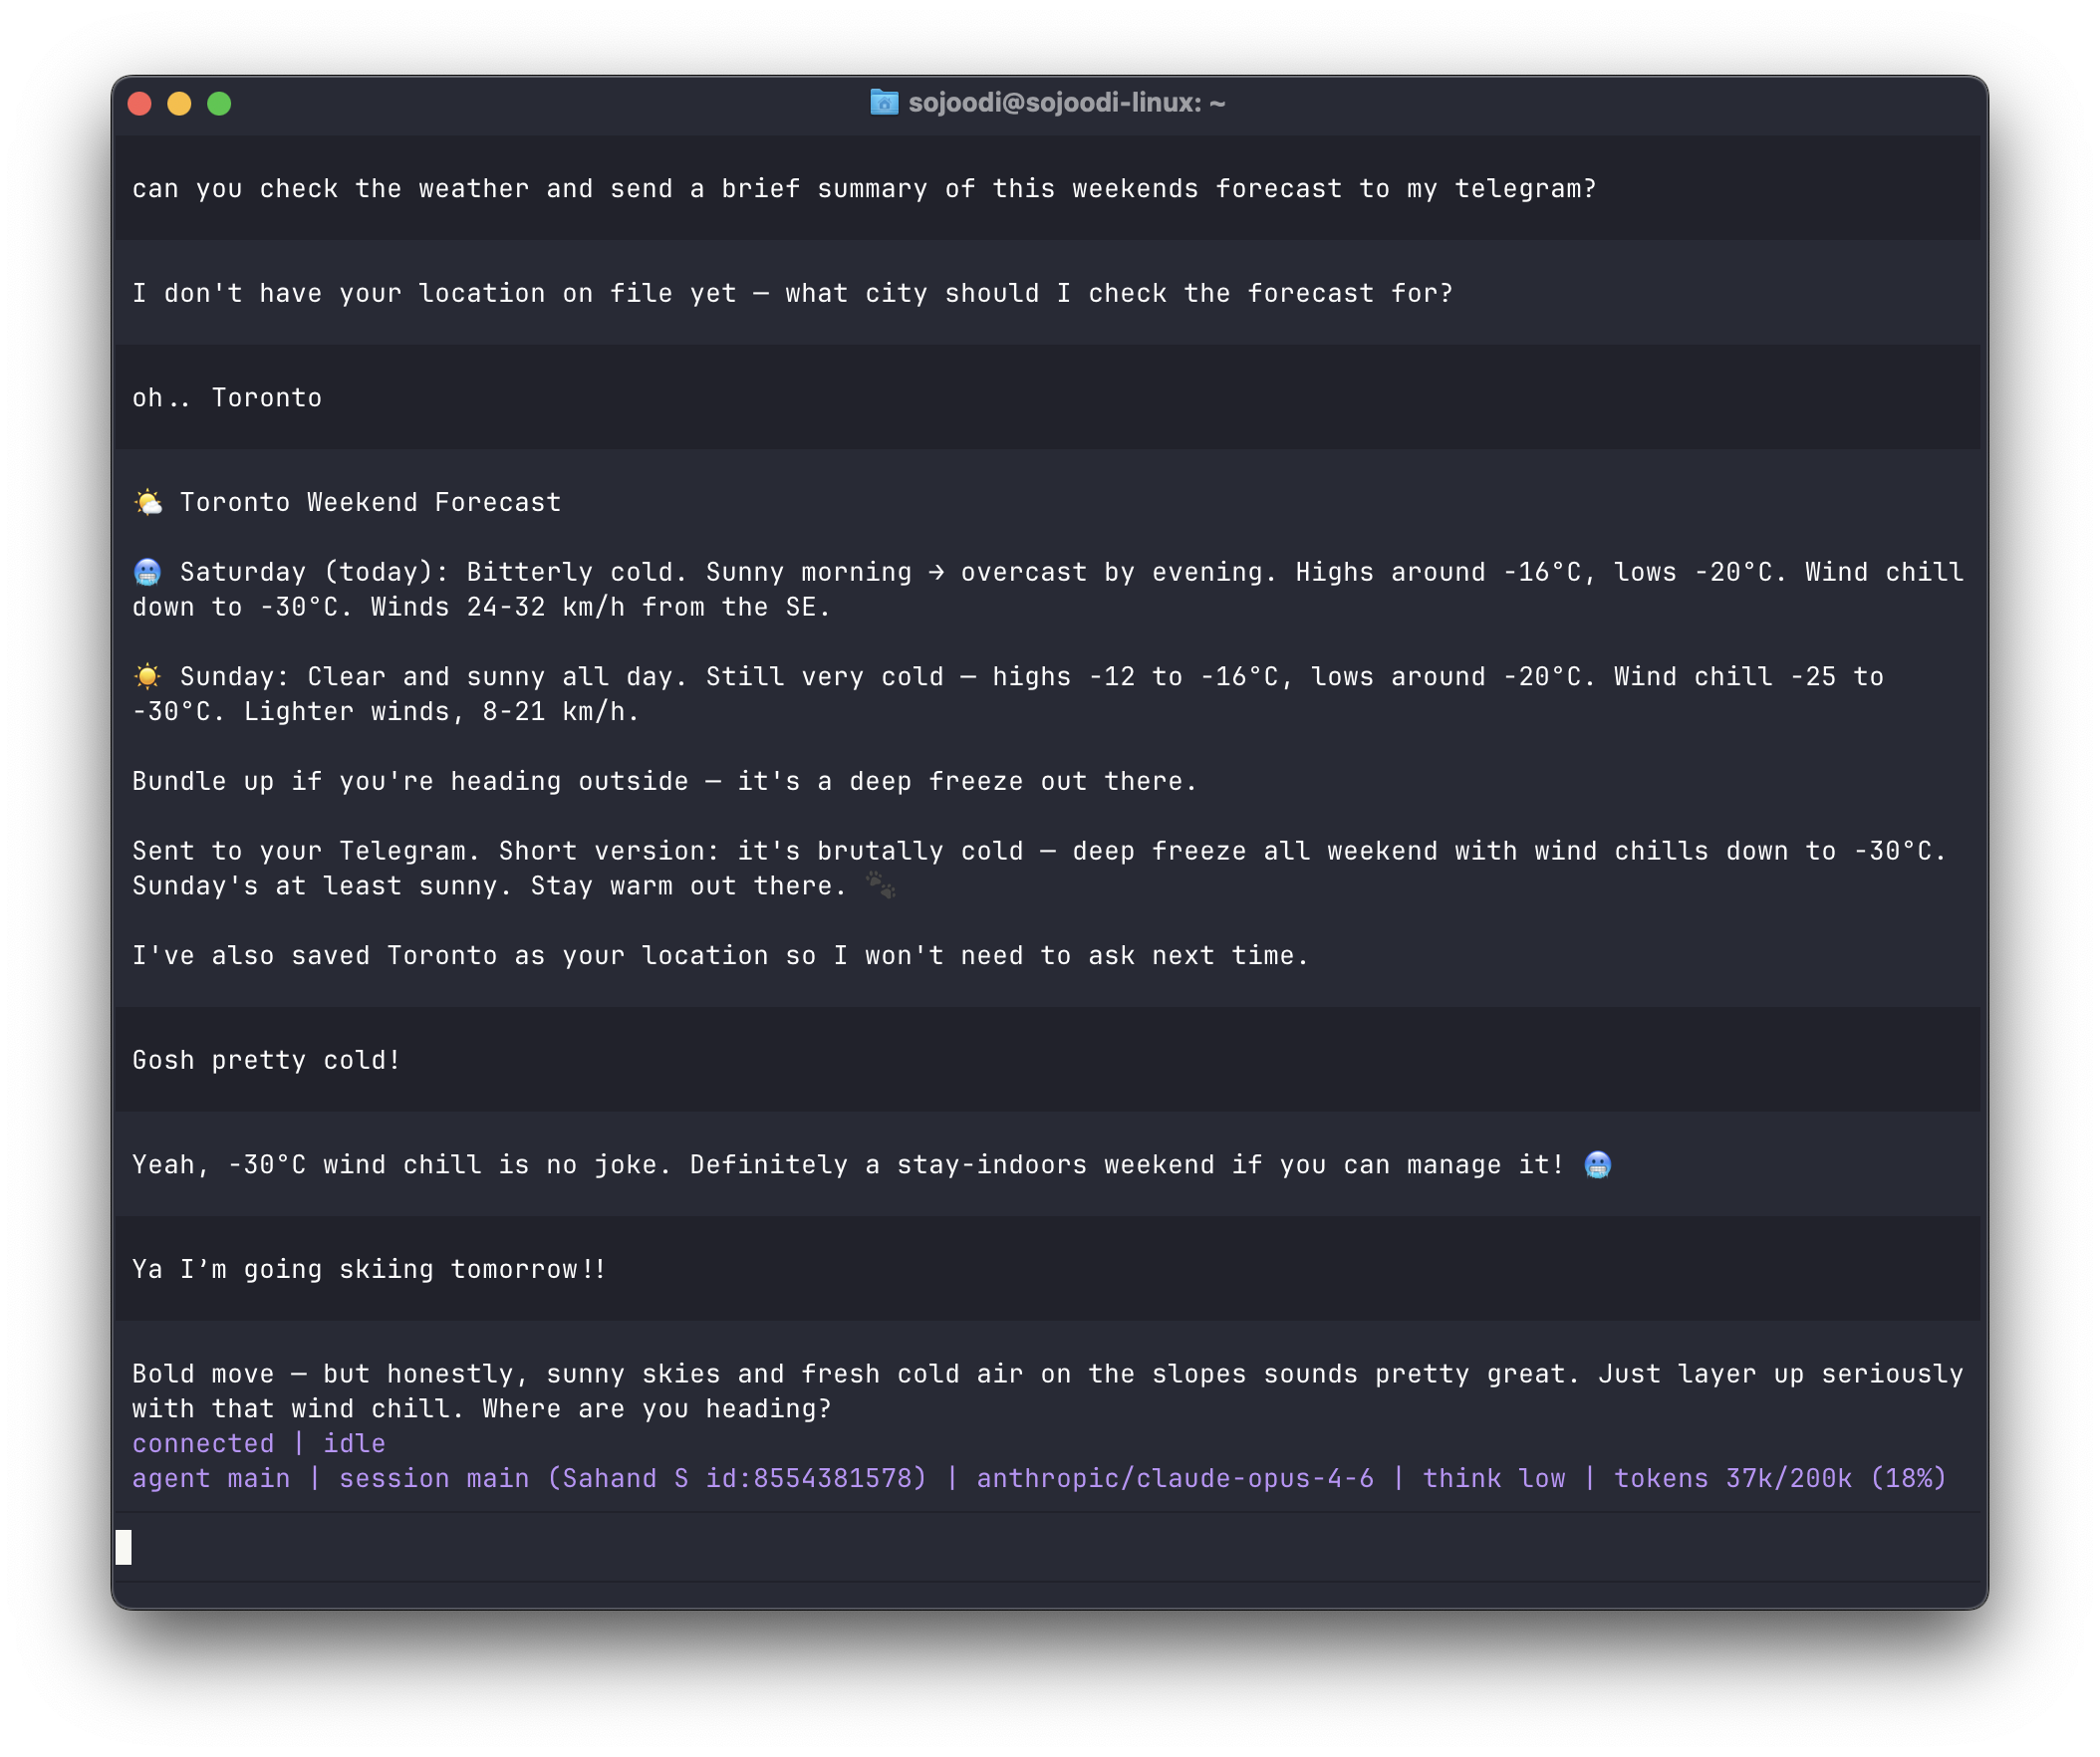
However, most of my interactions will be through Telegram on my phone anyway.
As a next step, I'm going to continuing hardening the VM setup to get prepared for deploying to cloud.
Enjoy Claw'ing!